Dried mud looks harmless, but rubbing it directly can drag sand and grit across the paint. The safest way to handle mud stain problems is to soften and rinse away loose contamination before any wash mitt touches the bodywork.
That approach reduces scratching and also makes stubborn mineral marks easier to identify after the dirt itself is gone.
Let Water Do the First Cleaning
Start with a thorough rinse from top to bottom. Give dried mud time to absorb water rather than attacking thick deposits immediately with a sponge.
Mud packed behind wheel arches and lower rocker panels may need several passes. Drivers researching car care guidance will often see different washing techniques, but nearly all paint-safe methods share one basic principle: remove loose grit before making physical contact.
Avoid scraping hardened mud with fingernails, brushes, or plastic cards. Even soft-looking soil can contain abrasive particles.
Wash From Cleaner Areas Toward Dirtier Areas
Use a clean automotive wash mitt and suitable car shampoo once the heavy dirt has rinsed away. Work on upper panels first and leave the lower doors, bumpers, and rocker areas until later.
Keeping heavily contaminated sections separate reduces the chance of carrying gritty residue onto cleaner paint. Broader automotive directory resources may cover different exterior-care routines, but good wash technique always depends heavily on clean tools and frequent rinsing.
| Problem Area | Safer Method | Avoid |
|---|---|---|
| Fresh mud | Gentle rinse | Dry wiping |
| Dried deposits | Soak, then rinse | Scraping |
| Lower panels | Separate wash pass | Dirty mitt reuse |
| Remaining stain | Paint-safe cleaner | Harsh household chemicals |
Deal With Stains After the Mud Is Gone
Sometimes the brown mark disappears after washing. Other times, minerals or organic material leave faint staining behind.
Dry the panel and inspect it under good light. A paint-safe cleaner or mild detailing product may help with remaining residue. General vehicle cleaning discussions can introduce many product ideas, but aggressive chemicals should not be the first response to a stain that may only need gentle treatment.
Test any unfamiliar product on a small inconspicuous area. Follow its instructions instead of increasing strength or contact time on your own.
Dry Without Reintroducing Scratches
After rinsing, use a clean microfiber drying towel or another paint-safe drying method. Do not use the same towels that handled dirty wheels, door jambs, or greasy components.
Blotting or gently gliding a clean towel is better than pressing hard. If the surface still feels gritty, rinse again rather than forcing the towel across it.
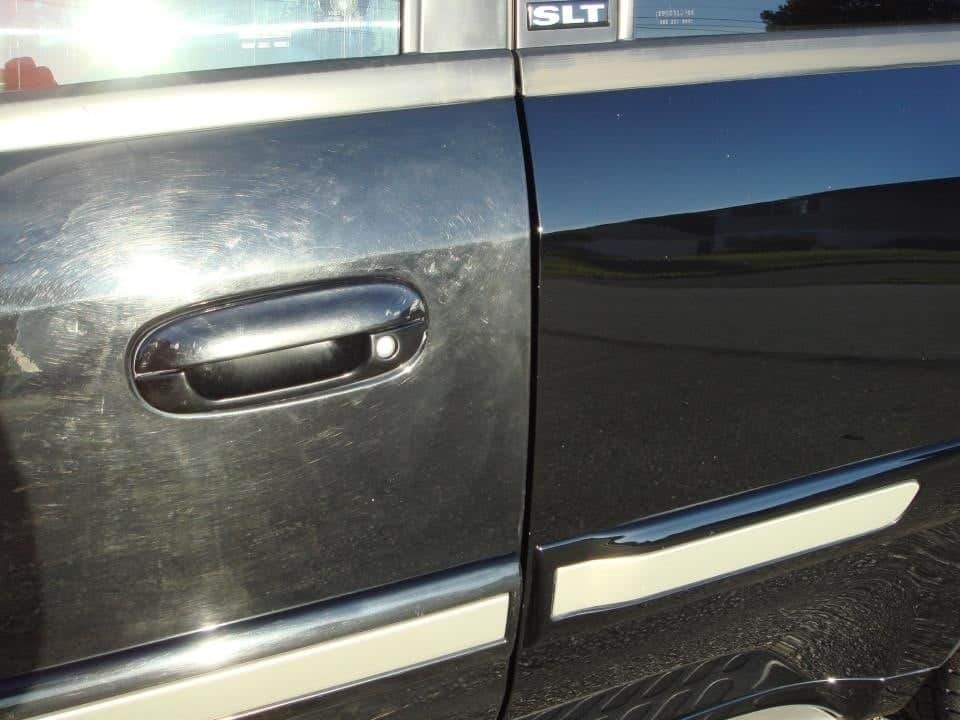
Once clean and dry, inspect the paint for light scratches or dull areas. Mud does not always create the damage; poor removal technique often does.
Where Mud Cleaning Goes Wrong
One common mistake is wiping a muddy vehicle before rinsing it. That turns the dirt into an abrasive layer between the cloth and paint.
Another is using household cleaners because they appear stronger. Some may strip protection or leave unwanted residue. Automatic brushing with a stiff shop broom is also risky, especially on glossy paint. More force rarely makes mud removal safer.
Frequently Asked Questions
Can dried mud scratch car paint?
Yes. Dried mud may contain sand, grit, and mineral particles that can scratch paint if rubbed across the surface before they are thoroughly rinsed away.
Should I pressure-wash mud from a car?
A pressure washer can help remove heavy dirt when used carefully and according to equipment guidance. Keep reasonable distance from paint, trim, seals, loose coatings, and damaged areas.
Why does a brown mark remain after washing?
The remaining mark may be mineral residue, organic staining, or contamination left after the soil has been removed. A gentle paint-safe cleaner may be needed after normal washing.
Clean the Dirt Without Grinding It Into the Paint
Treat mud as abrasive contamination, not simply as a stain. Soak it, rinse away as much material as possible, then wash with clean tools and light pressure. That sequence takes a little more care but greatly reduces the unnecessary scratching that hurried cleaning can create.